MISS MOOX
:
Martha Stewart
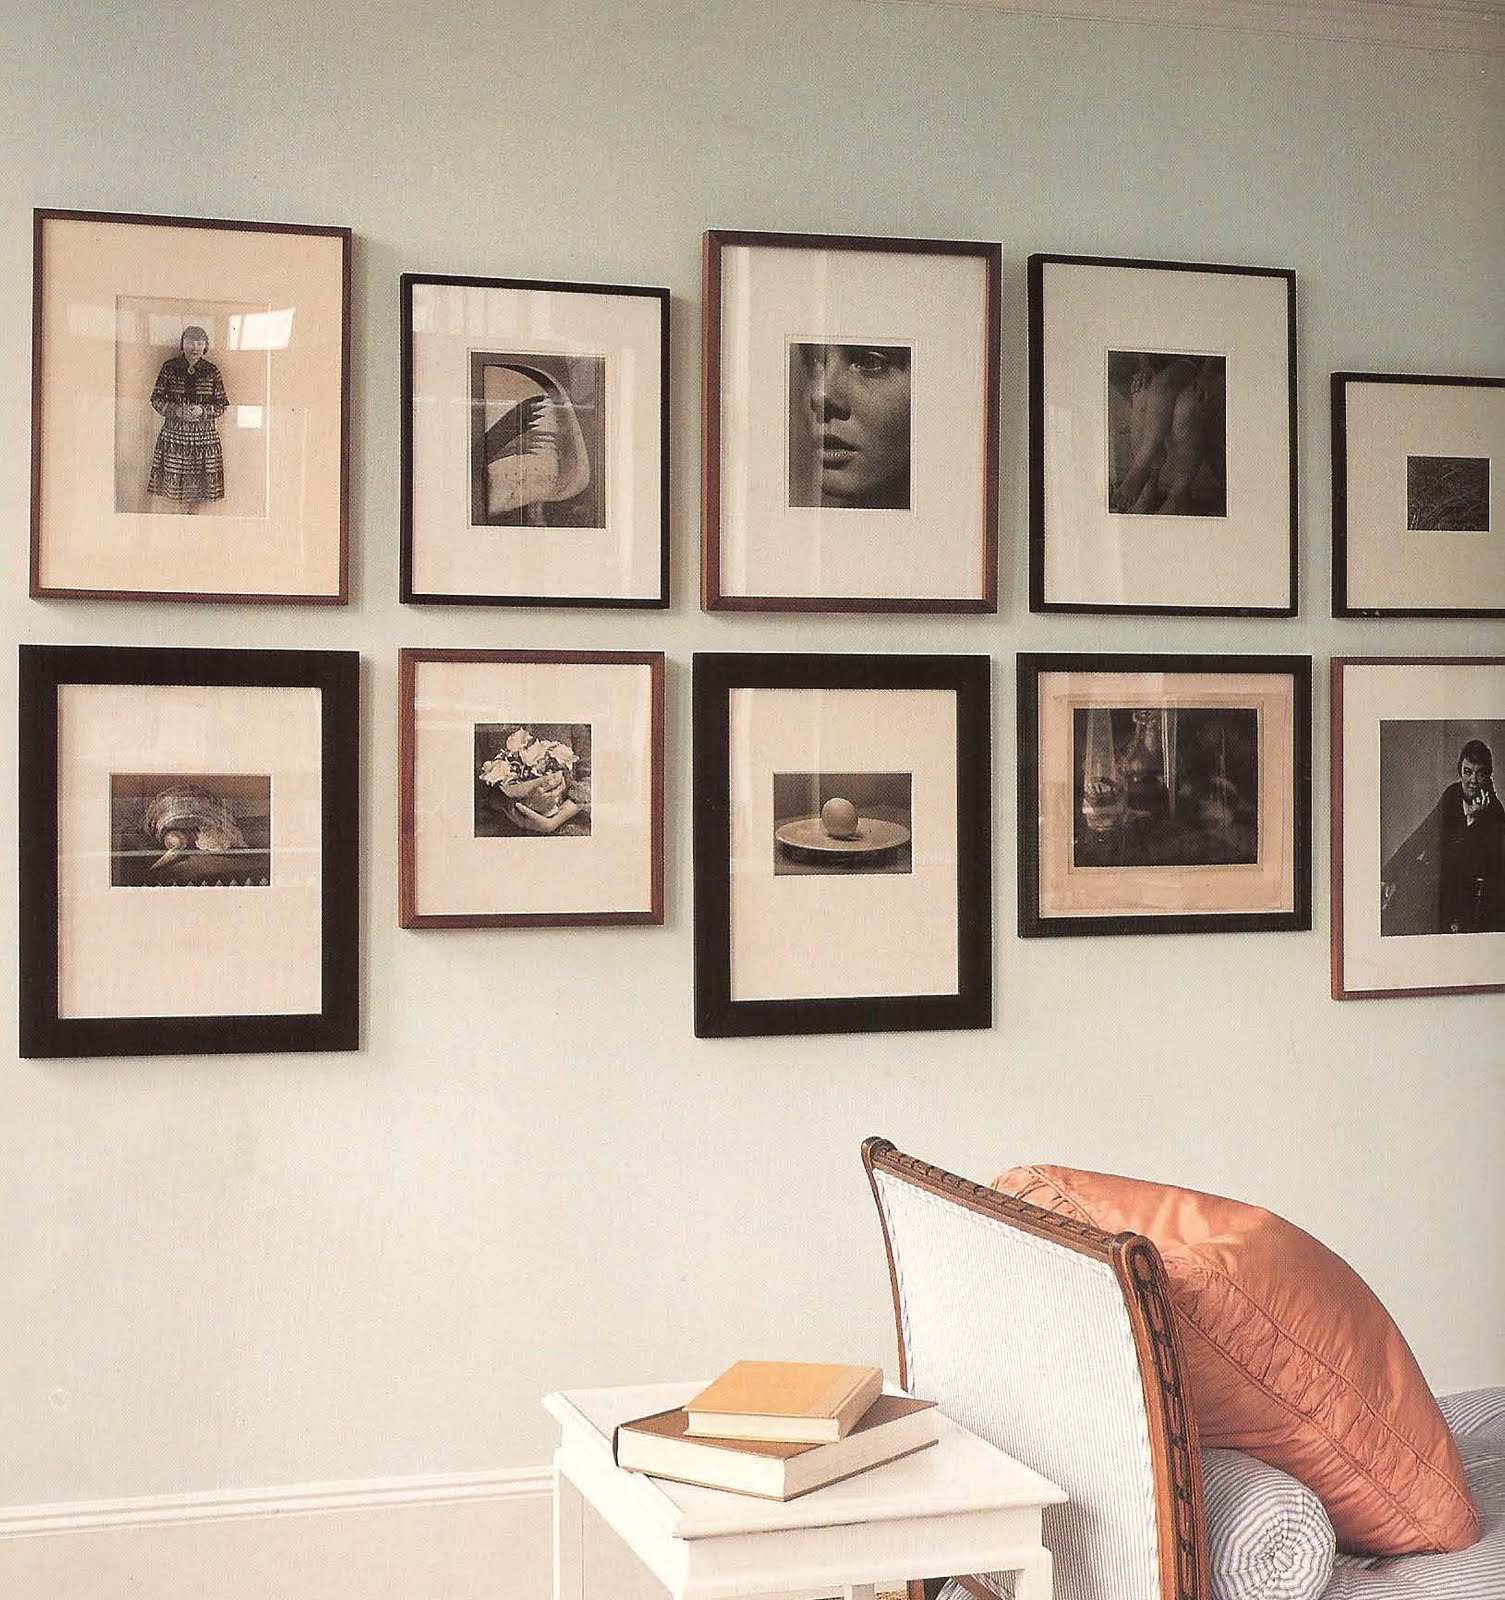
Arranging Artwork
Oh, Martha
Random for
home
:
NEXT >>